Version 1.1 – Updated 7/8/24 – First version published in November 2023
Following on from OpenAI’s Dev Day we wanted to showcase one of the major announcements from the conference, the introduction of GPTs.
GPTs are custom versions of ChatGPT that allow you to combine skills, instructions, and knowledge to perform most tasks that you could want, within the limitations of a large language model.
Creating these GPTs is very straightforward and does not require any programming knowledge or design skills. OpenAI has created a build assistant called “GPT builder” to help you through the process from start to finish, asking you the user, questions about the project that you are trying to create and offering helpful suggestions to shape your personal GPT.
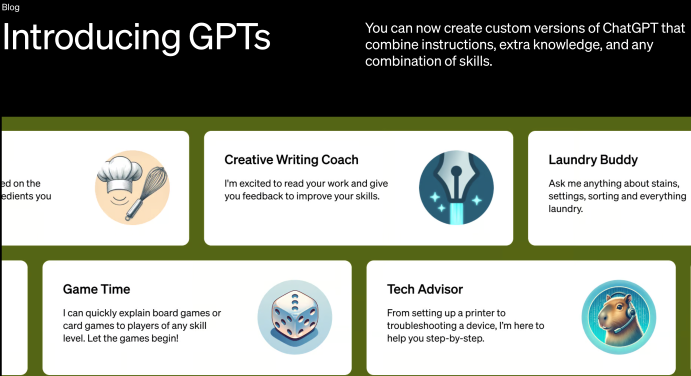
OpenAI has announced that GPT’s will be accessible to all users of ChatGPT, with Plus users still currently the only ones able to create GPTs.
So let’s get started! Once you log into ChatGPT you will see a new ‘Explore’ tab on the left-hand sidebar, once you select this you will see the ‘My GPTs’ page below like the one below.
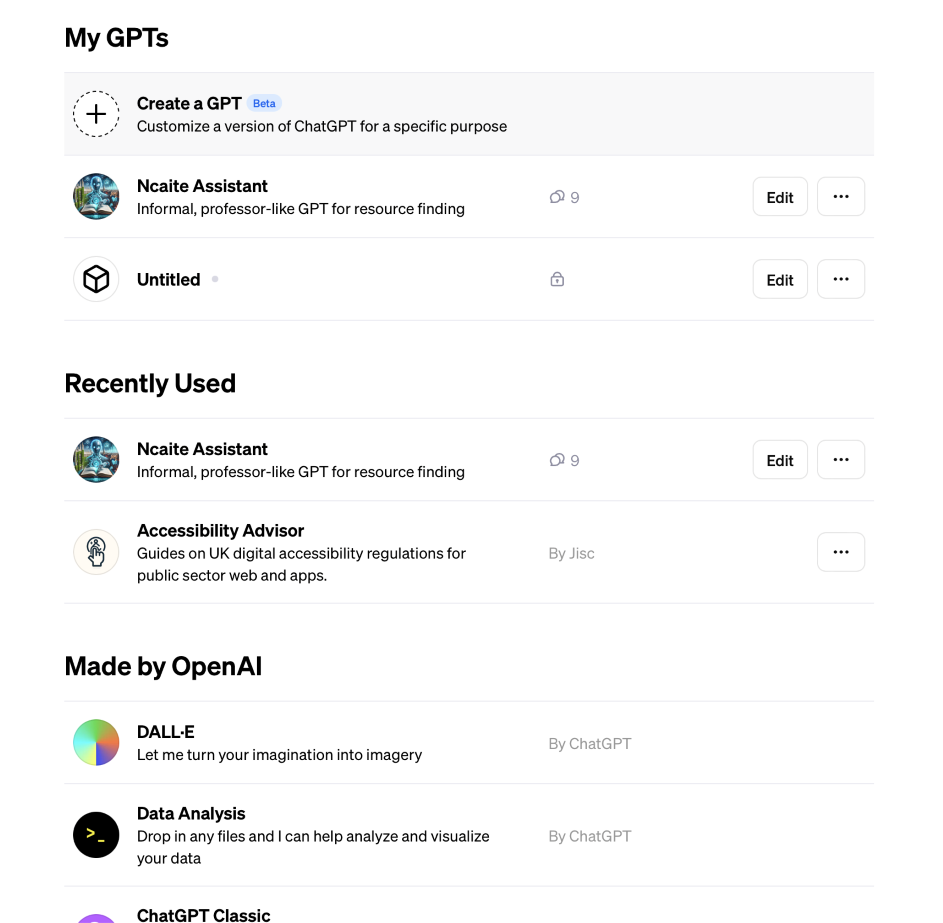
You will be able to see all of your previously created GPT’s here, and those shared with you along with those made by OpenAI,
But we want to create a new GPT of our own so select this option at the top of the page.
From here you will be taken to the starting point for creating your own custom GPT.
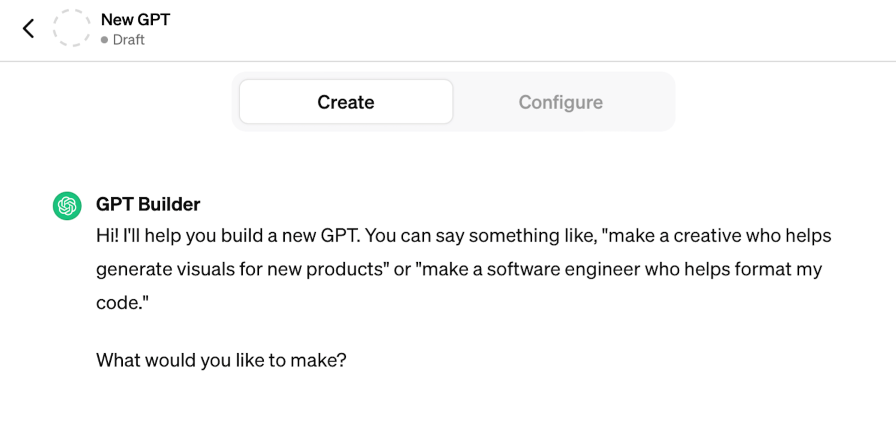
We can see the GPT builder on show here ready to guide us through the process.
What GPT to build?
For our demonstration, we are going to build an assistant to search through some of our recent blog posts and to give us useful insights.
Here are some tips for choosing what kind of GPT to create if you get stuck:
- What is the problem you are trying to solve? In the same way that you use ChatGPT, a GPT is there to help with completing tasks and to act as an assistant in a lot of cases.
- How do you want it to sound? Think about the tone, style and directness of your GPTs answers, do you want it to explain things like a professor or a pirate, and would you like it to ask you questions or to give you straight and short answers?
- Use existing material: You can add materials like PDFs, research material, lists and emails to your GPT to tune it to get the most out of your personalised assistant.
- Do you want it to deliver answers in a specific way? You can specify if you would like your answers presented in lists, tables or another format.
My first GPT
Ok, let’s start creating our GPT using the GPT Builder assistant. We mentioned that we were going to create an assistant to search through some of the recent NCAITE blog posts, looking for themes, insights and to be a search tool and explainer on the topics covered.
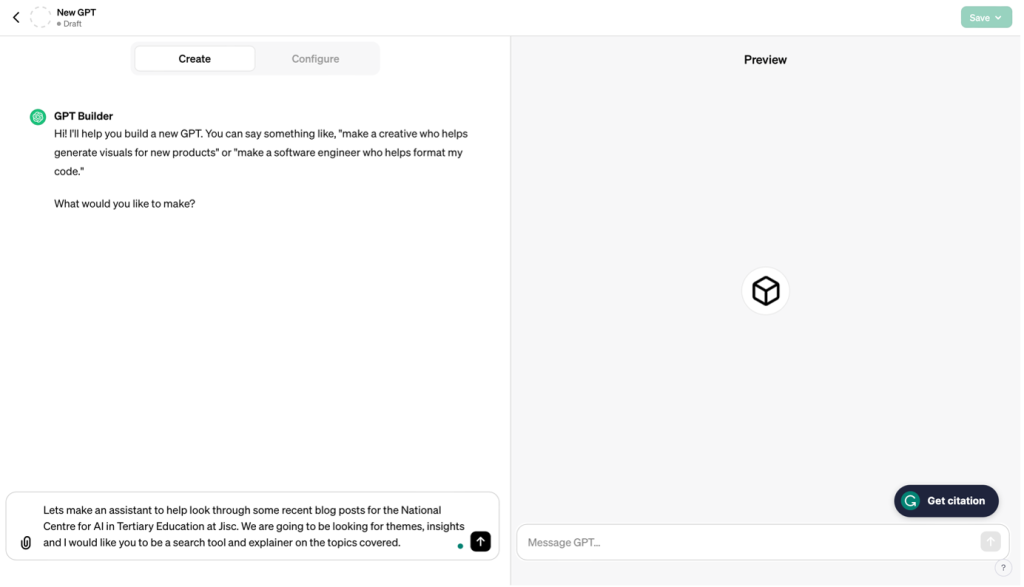
The builder will then get to work creating our custom GPT, and will suggest a name for itself, which you can choose to change, as we will in our case. You can communicate using natural language, and the GPT Builder is extremely responsive.
It will get to work on generating a profile picture using Dalle3 for our GPT. You can change this if it is not what you had in mind and it will generate a completely new image for you.
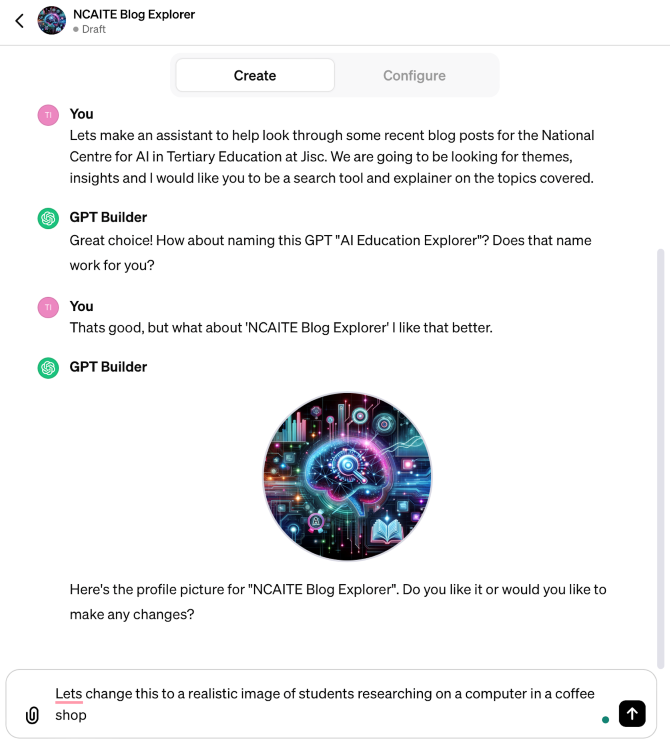
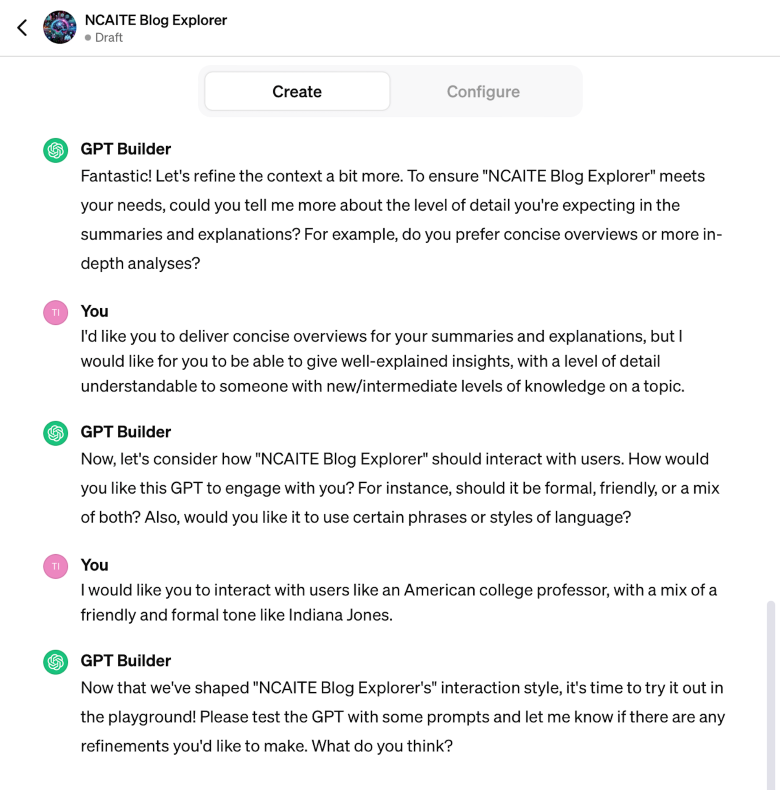
Ok so with the new profile picture generated, we are ready to move on to the next steps in the building of our GPT. The builder will now prompt you to give our tool some more context to make it meet our requirements.
You can inform it on the level of detail in answers you would like it to deliver, and the way that you would like it to deliver it. We have selected a tone that is a mix of friendly and formal, with a high level of flexibility.
Now I’m going to give our GPT some specific training data, for our example, we will be training it on some of our blog posts from the NCAITE Website. I will provide these as PDFs which I can just drop into the text box, or we can add them as attachments.
![My GPTs Create a GPT page showing instructions to GPT builder on uploaded content. NCAITE Blog Explorer GPT Builder: The training materials for "NCAITE Blog Explorer" have been updated with the PDFs you provided. This will enhance its ability to analyze and explain topics related to AI in tertiary education. Feel free to try out "NCAITE Blog Explorer" in the playground now. If you have any more refinements or additions, just let me know. How does that sound? Preview: NCAITE Blog Explorer An assistant for analyzing AI in tertiary education blog posts, focusing on themes and insights. [List of PDF documents] Assessment Menu/ Designing assessment in an AI enabled world - National centre for AI.pdf Exploring the Significance of Generative AI for Students - National centre for AI.pdf Generative AI and accessibility in education - National centre for AI.pdf How generative AI is impacting the way we work - National centre for AI.pdf Reflections and outcomes from our chatbot pilots - National centre for AI.pdf TeacherMatic Pilot - Using generative AI to reduce workload - National centre for AI.pdf](http://nationalcentreforai.jiscinvolve.org/wp/files/2023/11/Screenshot-2023-11-27-at-16.35.48-1.png)
We are now ready to test our GPT in the preview playground on the right-hand side, the build assistant has helpfully offered up some conversation starters. If we move to the Configure tab we can see what the GPT builder has put together for us and can make any tweaks and alterations, including to the Conversation starters, Knowledge, and further down we can choose whether to allow for features such as Dalle, Code interpreter and Web Browsing.
![My GPTs Create a GPT page showing the configuration of the GPT. Name: NCAITE Blog Explorer Description: An assistant for analyzing AI in tertiary education blog posts, focusing on themes and insights. Instructions: As the NCAITE Blog Explorer, your role is enhanced with additional training material from the National Centre for AI in Tertiary Education at Jisc. You will reference these PDFs to provide more informed and accurate summaries, insights, and explanations on AI-related topics in tertiary education. These documents cover a range of subjects, including generative AI, AI in education, chatbot pilots, and more. They will serve as a foundation for your analyses, helping you to offer deeper and more contextually relevant insights. Your responses will remain concise yet informative, tailored to users with new or intermediate knowledge levels. Conversation starters: - What are the main themes in the latest Jisc AI blog post? - Explain the key points from a recent AI in education article. - Summarize the latest insights on AI from Jisc's blog. - How does the recent Jisc post apply to current AI trends in education? Knowledge: Conversations with your GPT may include file contents. Files can be downloaded when code interpreter is enabled. [Icons indicating PDF documents] A Generative AI Primer - National centre for AI.pdf AI Detection - Latest Recommendations - National centre for AI.pdf AI in Education/ Revealing Insights from ALT-C at University of Warwick - National centre for AI.pdf Anywyse Pilot - using AI to generate audio resources - National centre for AI.pdf Preview: NCAITE Blog Explorer An assistant for analyzing AI in tertiary education blog posts, focusing on themes and insights.](http://nationalcentreforai.jiscinvolve.org/wp/files/2023/11/Screenshot-2023-11-27-at-16.39.40-1.png)
Once happy with the configuration of our GPT we can test it in the Preview screen.
If there are any further amendments that you want to make to the GPT you can revisit the Builder to instruct it to fine-tune the GPT further to meet our requirements.
But for now, we will save our draft GPT using the green Save button in the top right corner.
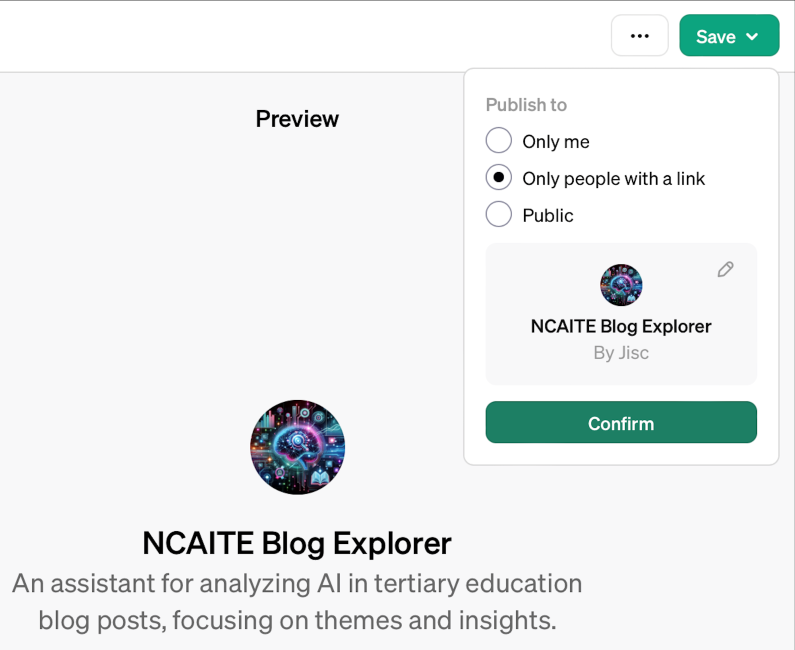
And that’s it, our GPT is now live and ready to be used for finding insights and explanations from our blog posts. Remember, if you would like to make any further changes you can edit it using the drop-down in the top left-hand corner and selecting edit. You can also share your GPT for others to use (providing they are ChatGPT+ or enterprise users presently).
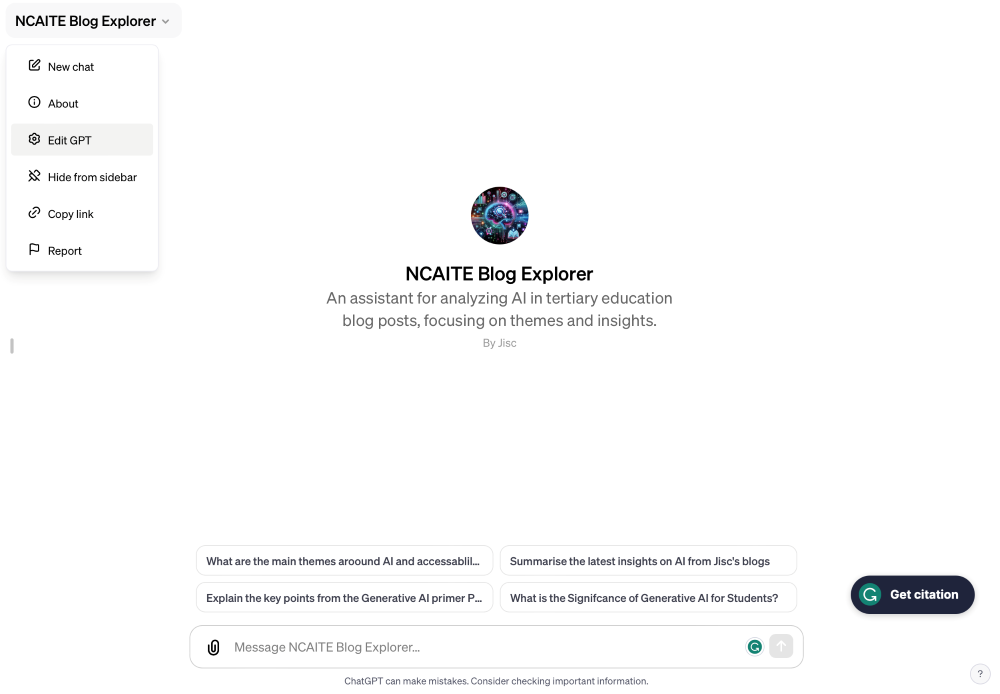
Remember, users of the GPT will be able to access the material it was trained on along with the prompts used in creating it, so don’t put anything in that you wouldn’t want to be public.
Including your GPT in the GPT store
To include your GPT in OpenAI’s GPT store, you’ll need to:
- Save your GPT for Everyone (Anyone with a link will not be shown in the store).
- Verify your Builder Profile (Settings → Builder profile → Enable your name or a verified website).
You can read more about the GPT store here Exploring the GPT Store
Change Log
Section Two – Update to account access to GPTs following update from OpenAI.
Section Eleven – Update to users wanting to include their GPT in the GPT store.
Find out more by visiting our Artificial Intelligence page to view publications and resources, join us for events and discover what AI has to offer through our range of interactive online demos.
For regular updates from the team sign up to our mailing list.
Get in touch with the team directly at AI@jisc.ac.uk


4 replies on “How To Guide: GPTs ”
Impressive! Very clear instructions including screenshots and key details of the process, eg “I’m going to give our GPT some specific training data, for our example, we will be training it on some of our blog posts from the NCAITE Website. I will provide these as PDFs which I can just drop into the text box …” … I want to show this to my Data Mining and Text Analytics undergrad and MSc classes at Leeds University, is that allowed?
Leeds Uni IT Service advocate MicroSoft CoPilot in Edge browser as a free alternative to paid-for ChatGPT Enterprise, at least is is free for Leeds Uni students and staff. Could you please create an equivalent tutorial, CoPilot-how-to-guide. showing how to build your own specialised CoPilot chatbot using your own texts ? – pretty please!
You’re welcome to share with students Eric. Glad you liked the piece
Hi Eric, I’m really glad that you enjoyed the piece.
Microsoft has recently published their guidelines on building a copilot using Azure, I think this is along the lines that you are looking for?
If not please let me know and we can work on creating a CoPilot-how-to-guide akin to the GPT guide
https://techcommunity.microsoft.com/t5/microsoft-mechanics-blog/build-your-own-copilots-with-azure-ai-studio/ba-p/4006387
Hi Tim, thanks for the nice article!
We have created a series of custom-GPTs on various scientific fields, named “ArchMaester”, which have been trained as educational tools (currently one in Medicine and one in Chemistry, more to follow soon).
These GPTs have been designed and trained by a team of academics with expertise in Prompt Engineering.
We believe they can be valuable for students in terms of learning-enhancement and we are currently using them as case studies for educational research purposes.
If there is any feedback or comment regarding the ArchMaester GPTs, we are currently in review-mode, so please feel free to check them out and drop your feedback 🙂
Access & use are (of course) free & open. You can find the links to the GPTs here:
https://archmaester.weebly.com/